
Customize Cooler Bag
DIY Customize Cooler Bag: Transforming Ordinary to Extraordinary
Cooler bags are not just functional accessories for keeping your beverages and snacks cool; they are also a canvas for personal expression. Why settle for a generic cooler bag when you can easily transform it into a unique and extraordinary piece that reflects your style and personality? In this DIY guide, we'll explore simple yet effective ways to elevate your cooler bag from ordinary to extraordinary.
Materials You'll Need:
-
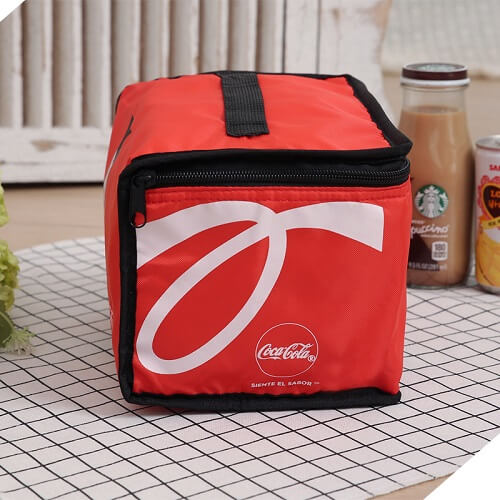
Plain Cooler Bag: Start with a blank canvas. Choose a custom insulated bags in a solid color to provide the perfect backdrop for your customization.
-
Fabric Markers or Paints: These are essential for adding vibrant colors and patterns to your cooler bag.
-
Stencils: If you're not confident in your freehand drawing skills, stencils can help you create precise and intricate designs.
-
Fabric Glue: For attaching embellishments like patches, rhinestones, or fabric scraps.
-
Paintbrushes: To apply paint or glue evenly on the surface of the cooler bag.
-
Masking Tape: Useful for creating clean lines and sections for your designs.
-
Scissors: For cutting fabric, tape, or any other materials you may use.
Step-by-Step Guide:
1. Plan Your Design:
Before diving in, sketch out your design ideas on paper. Consider the overall theme, color scheme, and any specific elements you want to incorporate. This will help you stay organized and ensure a cohesive final look.
2. Prepare the Surface:
Clean the cheap cooler bag to remove any dirt or debris. Ensure it's completely dry before starting the customization process. If your cooler bag has multiple compartments, decide if you want to customize the entire surface or just specific areas.
3. Use Masking Tape for Clean Lines:
If you're planning on creating geometric shapes or distinct sections, use masking tape to mark off those areas. This will help you achieve clean lines and prevent colors from bleeding into each other.
4. Paint or Draw Your Design:
This is where your creativity shines. Use fabric markers or paints to bring your design to life. Experiment with patterns, doodles, or even inspirational quotes. If you're using stencils, position them carefully and fill in the shapes with your chosen colors.
5. Add Texture and Dimension:
Enhance your design by incorporating texture. Consider using fabric glue to attach patches, sequins, or fabric scraps. This not only adds visual interest but also a tactile element to your cooler bag.
6. Let It Dry:
Allow your masterpiece to dry completely before handling or using the branded cool bag. This ensures that the colors set properly, and any glue or paint has time to adhere to the fabric.
7. Seal the Deal:
If you want to protect your artwork from wear and tear, consider applying a fabric sealant or clear coat. This will help preserve the vibrancy of your design and make your cooler bag more resistant to spills and stains.
Showcase Your Style:
With your DIY customized cooler bag complete, you now have a functional and unique accessory that stands out in any crowd. Whether you're heading to the beach, a picnic, or a tailgate party, your cooler bag will not only keep your refreshments cool but also showcase your individuality and creativity. So, grab your materials and let your imagination run wild as you transform an ordinary cooler bag into an extraordinary work of art.